
I used to love getting new Wood-Mount stamp sets- trimming the rubber and attaching them to the blocks. I found it relaxing. I liked it so much I offered to mount stamp sets for my customers. Many of them took me up on that offer!
In 2008, all the stamps came die cut. All you had to do was pop them out of the sheet, peel off the backing and attach them to the blocks. Woohoo! What a time saver. Of course there were still some that needed to be trimmed, but for the most part they were ready to go!
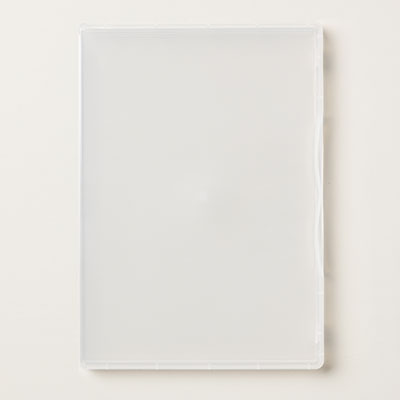
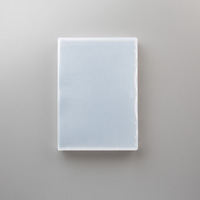
In 2010, Stampin' Up! introduced Clear-Mount stamp sets. Same rubber stamps, but they weren't permanently attached to wood blocks. You have clear blocks that they will stick to. They just need to have their image stickers applied. They come in plastic DVD style cases that take up half the space of the Wood-Mount sets- what a space saver!
I've found over the years since then that I'm buying less and less Wood-Mount sets and only buying Clear-Mount sets. But I still had lots of retired Wood-Mount sets that just sat on a shelf, collecting dust. I didn't want to sell them, but I wasn't using them. I had heard of other people un-mounting their wood sets and making them Clear-Mount. Brilliant! But I just never got around to it. Until recently! Why did I wait so long? It was so easy, and I have more room on my retired set shelf! I do have a couple wood sets that I left mounted and just moved them to the new style cases. But other than one old case I have some miscellaneous single stamps in, I have none of the old cases anymore! My OCD tendencies love it! :)
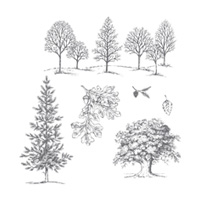
OK, here's how I un-mounted my Wood-Mount stamps and made them into Clear-Mount. I did all my retired sets first, then remembered I still have Lovely As A Tree to do and decided to take some pictures as I worked on them.

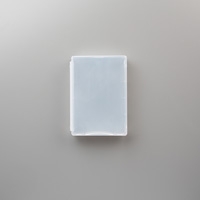
The Wood-Mount stamp when I started


I put each stamp in the microwave, one at a time, for about 8-10 seconds. Watch out! The blocks get warm! Peel the rubber stamp off the block, then peel the sticker off and attach it to the rubber stamp. Carefully trim the sticker so it's the same as the rubber stamp.

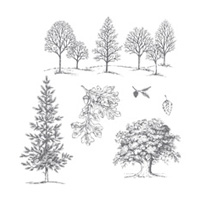
Here's my whole set, un-mounted with stickers attached to the rubber stamps, and all the blocks I no longer need!


I traced each stamp (rubber side up) on a sheet of cling vinyl- I'll show you the package at the end. Cut each shape out.


Flip the stamp over so you can see the sticker and peel away the backing of the vinyl. Attach it to the stamp. It might be hard to tell, but the cling vinyl is on the stamp in the picture on the right.

It sticks perfectly to a clear block!


Here are all of my stamps in their new Clear-Mount case!

I even printed an insert for the case. I was able to type the name of the stamp set on the top and on the side, then stamped each image on it. I also wrote the number of stamps included and the item number on the bottom. Isn't it purty? ;)
Generated by SUDSOL, Free Trial at www.sudsol.org
(I included the Wide Stamp Cases in case you want to change the cases but not un-mount your Wood-Mount stamp sets. They're also nice for storing other supplies like embellishments!)

This is the cling vinyl I used. My downline Sandy shared this with me. She found it on Amazon but when I looked online it looks like it may be available at Walmart and some local craft stores. Just make sure you get clear, as it comes in colors and mixed packs too.
I was so excited to have my Lovely As A Tree set in Clear-Mount that we used it for the September Stamp-A-Stack! Come back tomorrow to see the card we made!
No comments:
Post a Comment