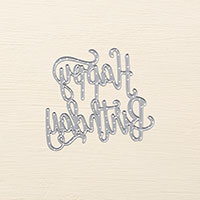
These were the third card at the July Stamp-A-Stack. I decided to do one with the new Thank You thinlit and one with the Happy Birthday thinlit that was new last year. Hopefully you'll be able to see the detail of the Subtle Embossing Folder. You have to see it in person! It looks just like textured card stock! These are CASE'd (Copy And Share Everything!) from a swap I received from Cathy S.


Here's a closer look to show the embossing folder:


Generated by SUDSOL, Free Trial at www.sudsol.org
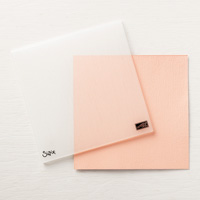
Colors: Mint Macaron and Soft Suede
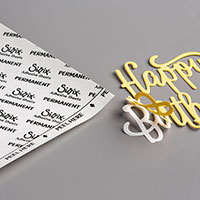
The Multipurpose Adhesive Sheets make it so easy to attach this thin die cuts!
Here's how I used them for these cards:
1. Cut Soft Suede layer to 3 1/4 x 3 3/4"
2. Cut Multipurpose Adhesive Sheet to 3 x 3 1/2" (the sheets are 6 x 12")
3. Peel the lettered backing off the adhesive sheet and attach it to the Soft Suede layer
4. Place the die on the top of the Soft Suede layer so the adhesive sheet is underneath, run through the Big Shot
5. Separate the die cut and the layer piece- remove any small pieces that are stuck
6. Peel the backing from the adhesive sheet under the Soft Suede layer and attach it to the card base
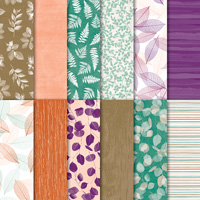
7. Layer the Designer Series Paper (3 x 3 1/2") on the Soft Suede layer
8. Peel the backing from the adhesive sheet under the die cut piece and attach it on top of the Designer Series Paper
So much easier than trying to put adhesive on the skinny parts of the die cut!